What is aperture: A guide to f stop (f-stop) and how to master it
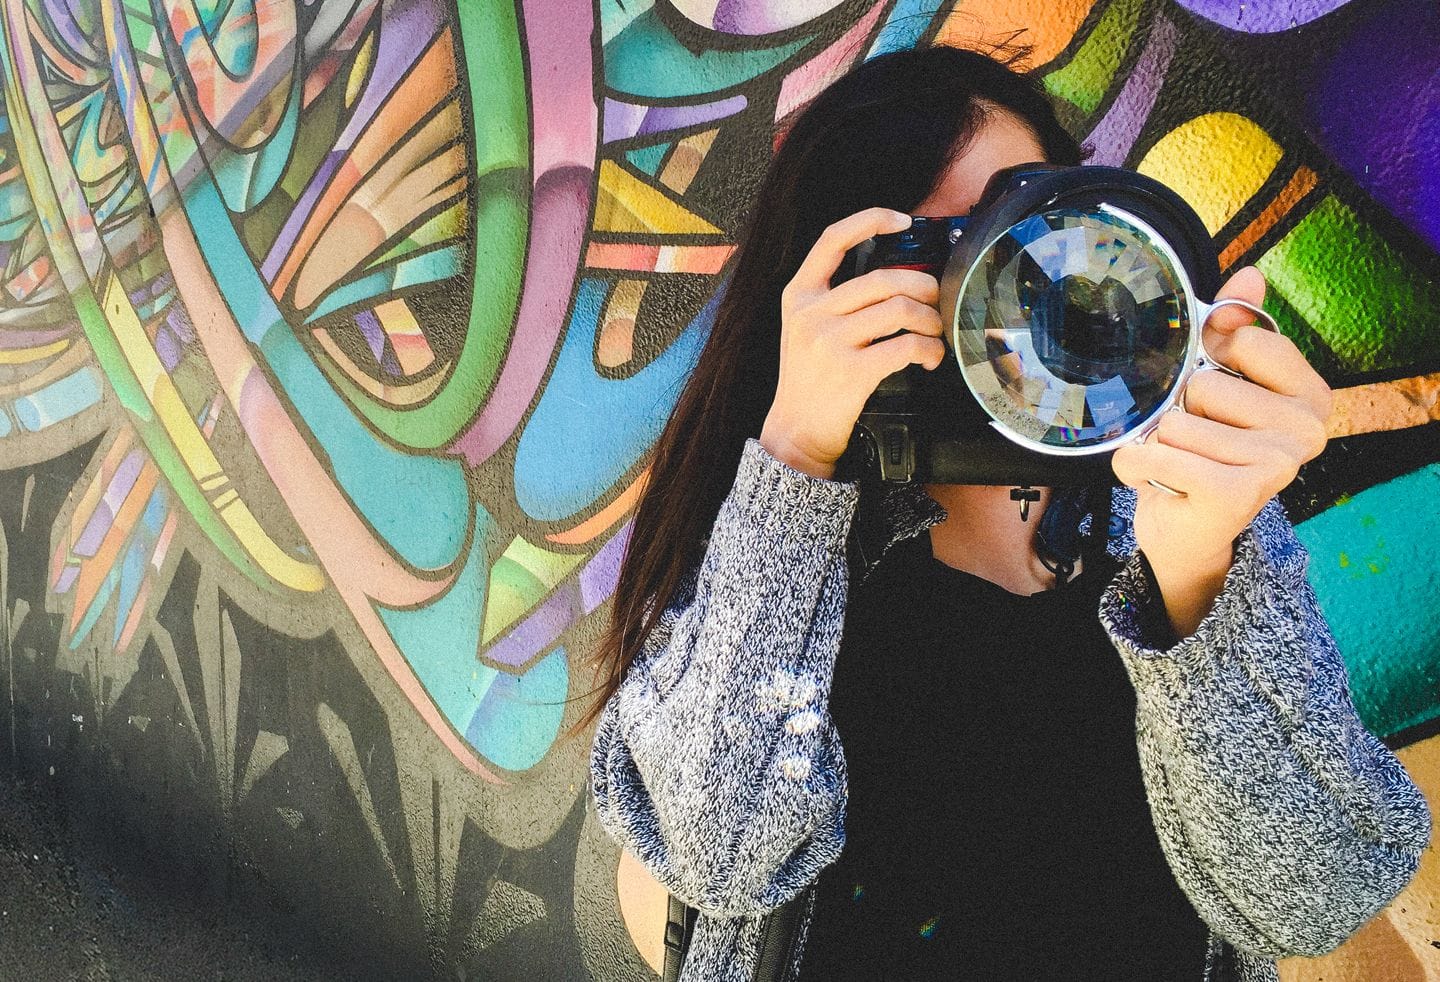
The Ultimate Guide to Prism Photography
This blog post is the first in a three part series explaining how photographers can use prisms like Fractals to capture creative images.
The Ultimate Guide to Prism Photography has all you'll need to get started.
If you want to skip right ahead to the point: aperture and it's relation to prisming.
Why aperture matters
Years ago, I ran into an issue during a wedding in which the electronic displays on my camera stopped working. Like, completely dark. Everything else functioned fine—the camera would still fire and capture shots perfectly, but, I had no idea what my shots looked like or if they were exposed correctly!
The only way I can recount the experience was that it was like reading while blind... or, like, driving while asleep... while texting.. you get the idea. There would be an important event, say, the bride performing the bouquet toss. I'd snap images furiously, as if I had a clue what I was doing, and then a wedding guest would walk up to me:
"Man, that was beautiful! You get that?"
"Yeah, um, yes I did, totally" *laughs nervously*
"???"
...exits stage left.
I scrambled my way home, plugged the images into the computer, aaaaaand *drumroll*... most of the images were... salvageable. The modern era has stressed the importance of shooting RAW over JPEGs, a law I luckily abided by, so I had 3 stops in either direction to pull my exposure up and down. Yes, 3 stops, this was in the early 2010's; none of that crazy, 20 stop exposure compensation stuff that's available today.
After my fear began to settle, I started to think. Before the era of digital photography, the phenomenon I had just weathered through would have been completely normal to the average photographer. Before digital metering, there was no automatic way to know how to expose your images!
And I started really really obsessing over this concept. How did they do it? What did they know? Having joined the photography movement during the digital era, there was so much about the internal mechanics of exposure that I was not aware of.
Most of us probably feel as though we know enough about aperture to get by. Under critique, though, how well do these beliefs hold up? Well, let's start off with a little quiz. Here's a seemingly straightforward question that many will find to be remarkably counterintuitive:
Q: An aperture of ƒ/1.4 lets ##placeholder## more light into your lens than aperture ƒ/2.8
That's right. Wow either you got lucky, or you really know your mathematics as far as photography goes.
Nope. Sorry. The correct answer is actually 4 times. Don't worry! You'll understand why in the following passage.
If your intuition is like mine, you'll probably do some naive math; like some very naive multiplication, and come up with the wrong answer. Sorry, nope! That's not how f-numbers work at all. If you got that right, then well, you probably already know everything, you may as well just be done here. Thanks for reading! Joking, you're not getting off that easily.
Aperture is the only setting that matters
OK, this headline is purposely clickbaity. Of course ISO and shutter speed are important—otherwise they wouldn't have been introduced to begin with. Aperture though, is uniquely king over these two other settings—and its importance is generally overlooked by most photographers. Our reluctance to recognize the powerhouse that we can unleash by truly understanding our aperture is making our images worse!
Aperture confuses people, especially the f-stop scale—it doesn't seem to make any sense. Why is ƒ/2.8 a stop, and why does a stop of ƒ/2.8 signify a bigger diameter than an f-stop of ƒ/4?
The subject might strike you as too complex, esoteric, granular.. Name your favorite adjective, but I will argue that understanding these minutae actually will help you create better images. You will forever understand your equipment better, be able to make better photographic small talk, and wrapping your head around this subject will only take you a minute. Sounds like a pretty sweet deal, right? Knowledge is power; let's get into it.
What is an f stop?
Ok, before we get into the deep end.. let's back up a bit. What is a stop? Well, it's essentially a relative measure of light. By relative, I mean that a stop can only be judged in relation to an absolute exposure. For example, you can't look at a photo and describe it as having been shot at 12 stops.
You can however, look at a photo, and say that it could be a stop brighter, or a stop darker. This brings us to an important golden rule...
An increase of one stop (i.e. ƒ/2.8 -> ƒ/4) halves the intensity of light reaching the sensor
A decrease of one stop (i.e. ƒ/2.8 -> ƒ/2) doubles the intensity of light reaching the sensor
Why halves, or doubles? Well, that's purely a matter of convention. Early lens designers decided that doubling or halving the current aperture, stop by stop, would be an easy way to move between different apertures. There's no law of nature that requires stops to be defined in this way—but it was defined that way, and it's a convention that we've all agreed on, it's here to stay.

A primer on lumens, or lux.
Lux is an absolute measure of brightness. Imagine that the measurable amount of brightness on a sunny day measures in at 100,000 lux, and we have our camera set as to allow all 100,000 lux to pass through to the camera's sensor at an aperture of ƒ/1.
By this measure, if we were to increase our aperture by one stop, from ƒ/1 -> ƒ/1.4, we'd decrease the amount of brightness that reaches our camera's sensor by half: 50,000 = 100,000 / 2
This continues in a linear fashion as we continue increasing our aperture, leading to only 3,125 lux reaching our camera's sensor at ƒ/5.6, a dramatic decrease!
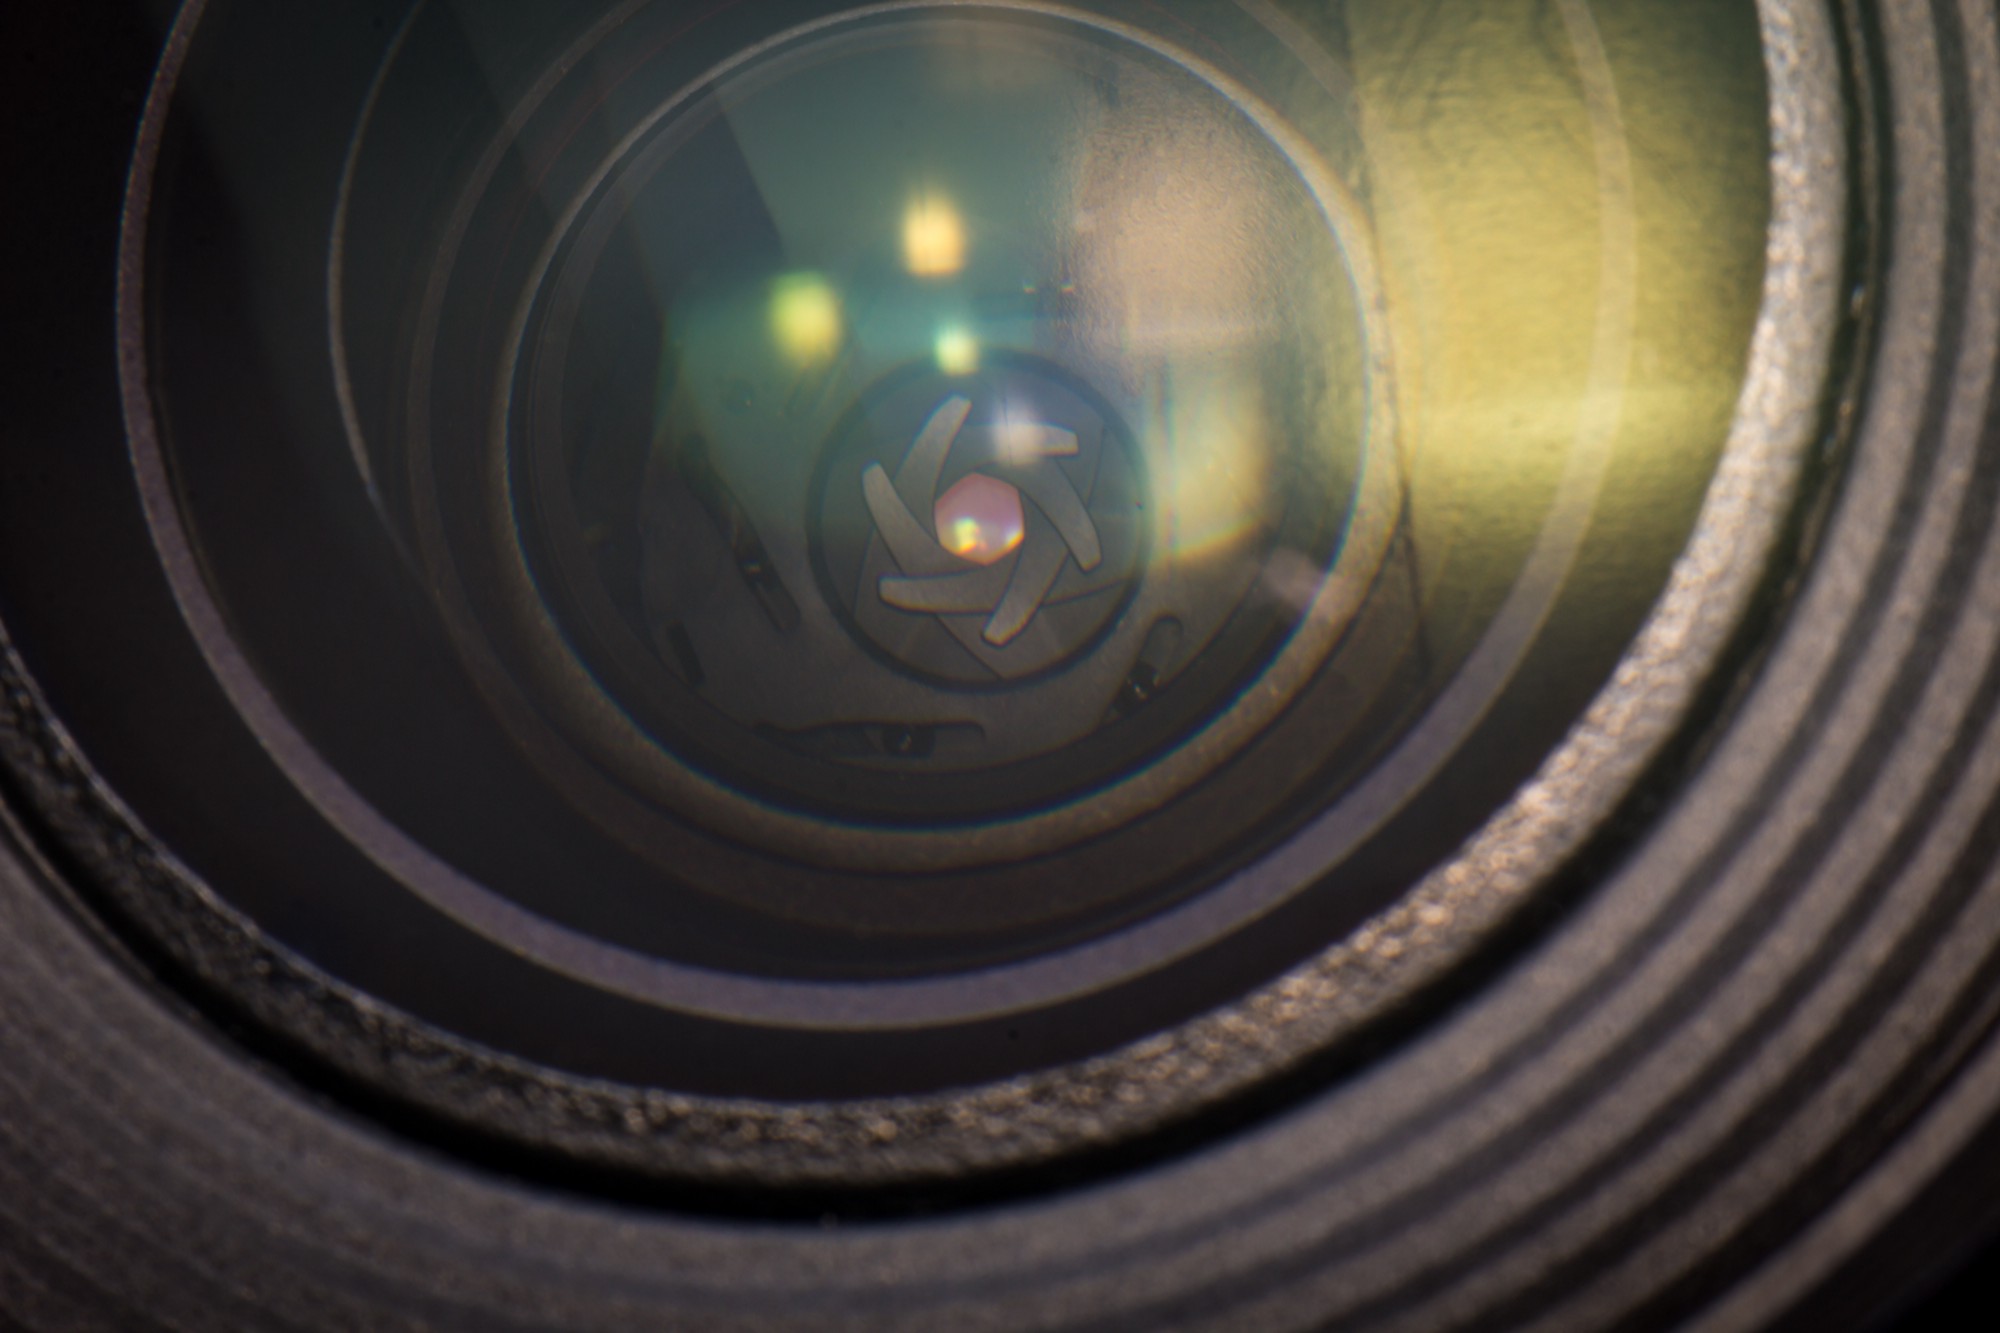
Ok, but how exactly does changing the aperture modify the intensity of light? Well, it's actually as intuitive as you'd guess it would be. An increase of one stop (i.e. ƒ/2.8 -> ƒ/4) halves the area (as in, the geometrical formula for obtaining the area of a circle, area = πr²) of the aperture. Inversely, a decrease of one stop (i.e. ƒ/2.8 -> ƒ/2) doubles the area of the aperture. Doubling the area, quite literally doubles the amount of light hitting the sensor, making the light twice as intense. Just like eating a cookie twice as big as another cookie, will make you twice as fat 😨.
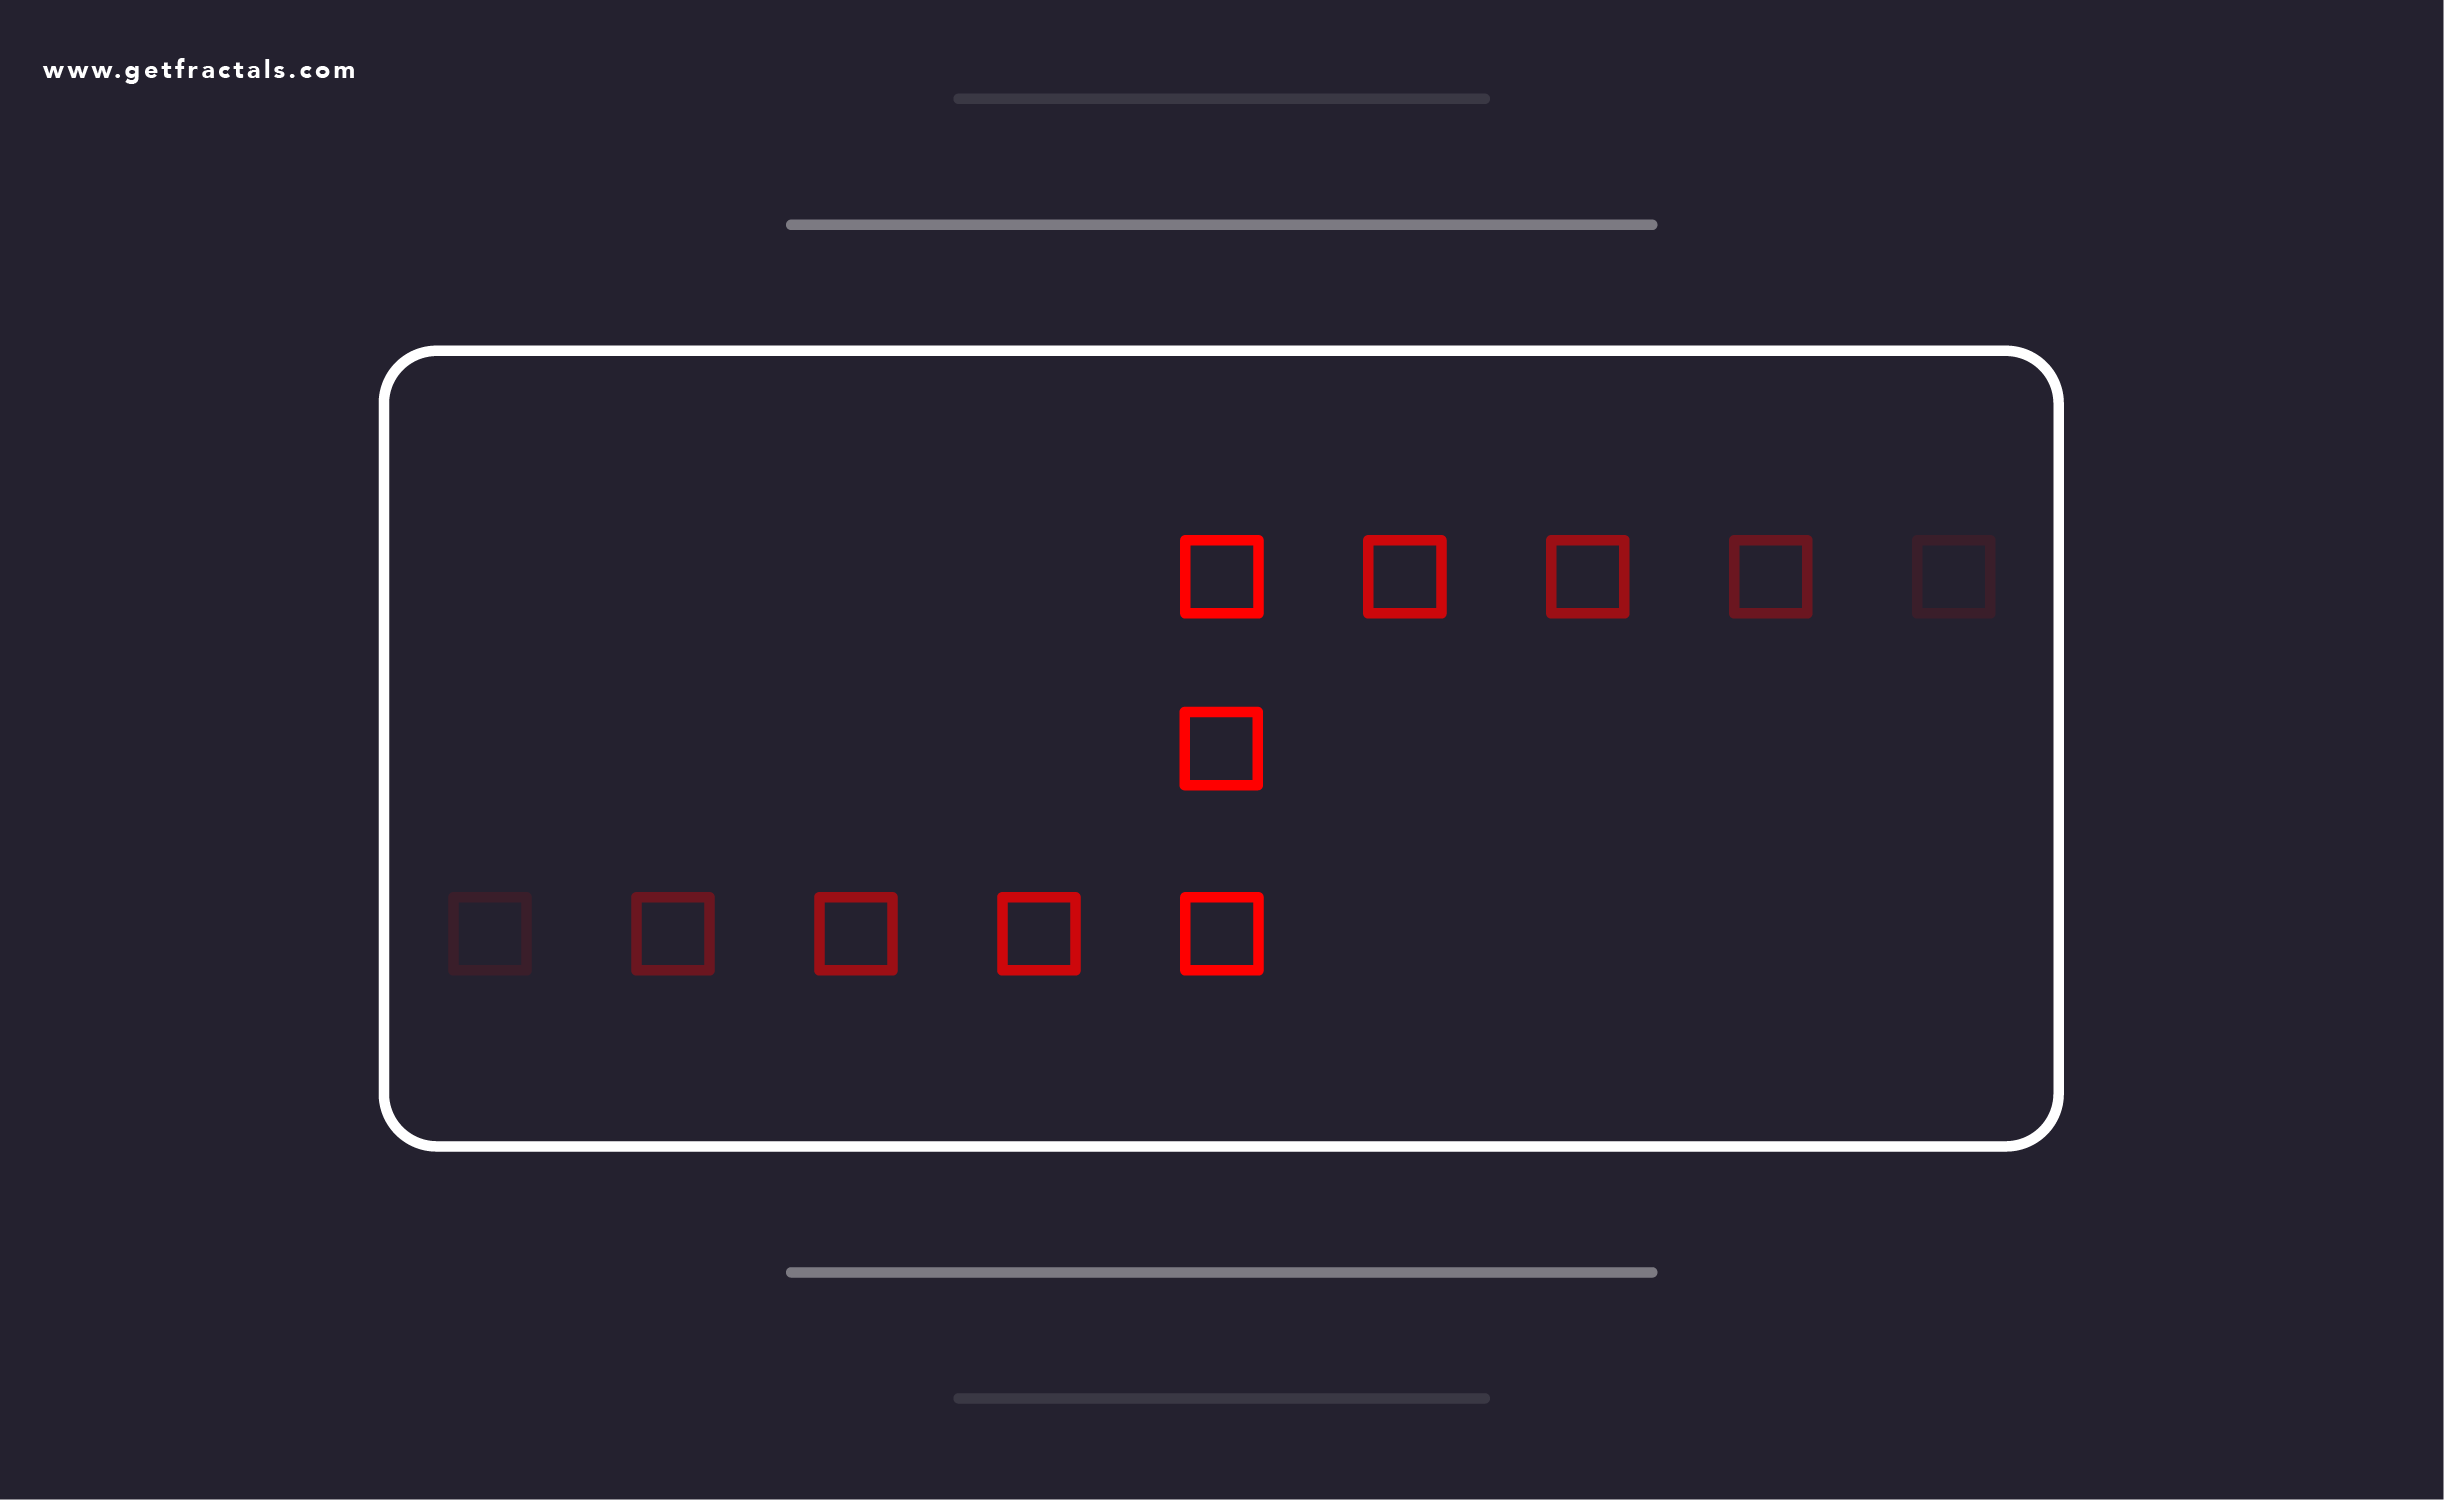
Total aperture pupil area decreases as aperture narrows
Total area decreases by half every time we increase our aperture by one stop. That's why we can deterministically state that exposure will decrease by a factor of .5 everytime we increase our aperture, and increase by a factor of two everytime we decrease our aperture.

This is why equivalent exposures are so easy to calculate. Equivalent exposures are two different exposure settings that allow the exact same amount of light to reach the sensor, resulting in the exact same (equivalent) exposure. For example, the setting f/2.8 @ 1/500 a second would expose a photo exactly the same as ƒ/2 @ 1/1000 a second. Why? ƒ/2.8 -> f/2 is a doubling of the area (πr²) of your aperture, letting in twice as much light, so you need to double your shutter speed, from 1/500 to 1/1000 to maintain the same exposure.
Q: You'd maintain the same exposure shooting at ƒ/2 @ 1/2000 a second, as you would at ƒ/2.8 @ ##placeholder## a second.
That's right. Way to pay attention :o
Doh! Incorrect. Maybe you should read this section again 🧐
Understanding the f-stop scale
Ok, but numbers like f/2.8 or f/5.6 are still weird. Why not just f/1, f/2, f/3...? Does math exist purely to make life confusing?
There's actually nothing spooky about it, and it's more intuitive than we may have guessed. The first important thing to understand is that apertures are just fractional numbers. Specifically speaking, they are a fraction of the focal length of your lens. The math is easy:
So, if you have a 100mm lens, and you open it up to ƒ/2, the diameter of your aperture is
An interesting tidbit, the fastest lens in film history was the ASA/Zeiss 50mm f/0.7. We then know that wide open, the diameter of the aperture was:
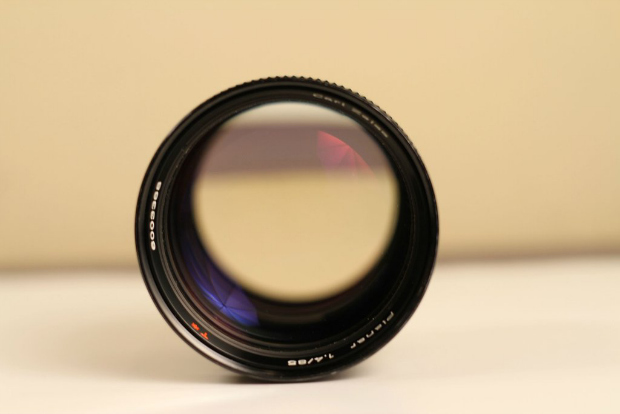
ASA/Zeiss 50mm f/0.7
Now that's wide! 71mm in diameter, to be exact.
Early lens manufacturers decided that sequential stops should double or halve the amount of light that enters the lens. As we discussed before, this is done by doubling or halving the area of the aperture. So how do we double or halve the area of the aperture? It's actually quite easy: it can be done by increasing or decreasing the aperture's diameter by a factor of square root of two!
We can observe that this is true with the simple proof. If we're using a 100mm lens at ƒ/2, the diameter of our aperture is 50mm, as per the equation:
And the area of our aperture is then therefore:
Now we want to increase our aperture one stop:
We observe that the area 981mm² is roughly half the area 1,963mm², which allows half the amount of light to enter the lens, exactly as we were expecting.
Decreasing aperture diameter by √2 halves the total aperture area
Subsequent apertures (i.e. ƒ/2 -> ƒ/2.8 or ƒ/2 -> ƒ/1.4) decrease or increase the diameter of the aperture's pupil by a factor of √2 to halve or double the total area of the aperture's pupil.

Now that we understand this relationship, we'll definitely understand the following chart:
| Fraction | Exact Number | F-Stop |
|---|---|---|
| √20 | 1 | ƒ/1 |
| √21 | 1.414213 | ƒ/1.4 |
| √22 | 2 | ƒ/2.0 |
| √23 | 2.828427 | ƒ/2.8 |
| √24 | 1 | ƒ/1 |
And there you have it. Aperture spookiness, dispelled.
Aperture in prism photography
Okay great, but why does any of this matter? Especially for prisming? Well, it's a little known fact that your depth of field amount also sequentially increases and decreases by a factor of √2 for each stop changed. (!!!)
Bam! This fact matters a lot. Why? Well, most people think ƒ/2.8 is fast enough. But... if we're being prudent, we can dispel this with some math.
The depth of field with a subject 10ft from the camera, at ƒ/2.8, is 1.29 ft. What will happen to our depth of field if we decrease it by two stops, from ƒ/2.8 to -> ƒ/1.4? Let's take a look:
.645ft = 1.29ft / √2 / √2
We have about half the depth of field at ƒ/1.4 .645 ft than we do at ƒ/2.8. This is a big deal. Without getting too esoteric, we must understand that the circle of confusion for light rays passing through the prism continue to grow larger, the more out of focus the prism becomes.
You can think of circles of confusion as the amount of 'defocusing', or blurring, that occurs. Larger circles of confusion allow light to defocus more dramatically as it hits the sensor; which give you your bokeh—like effects. Larger circles of confusion = larger bokeh. Except, this is not really bokeh because it's happening in front of the lens. It's more like front-bokeh. Fokeh, anyone?
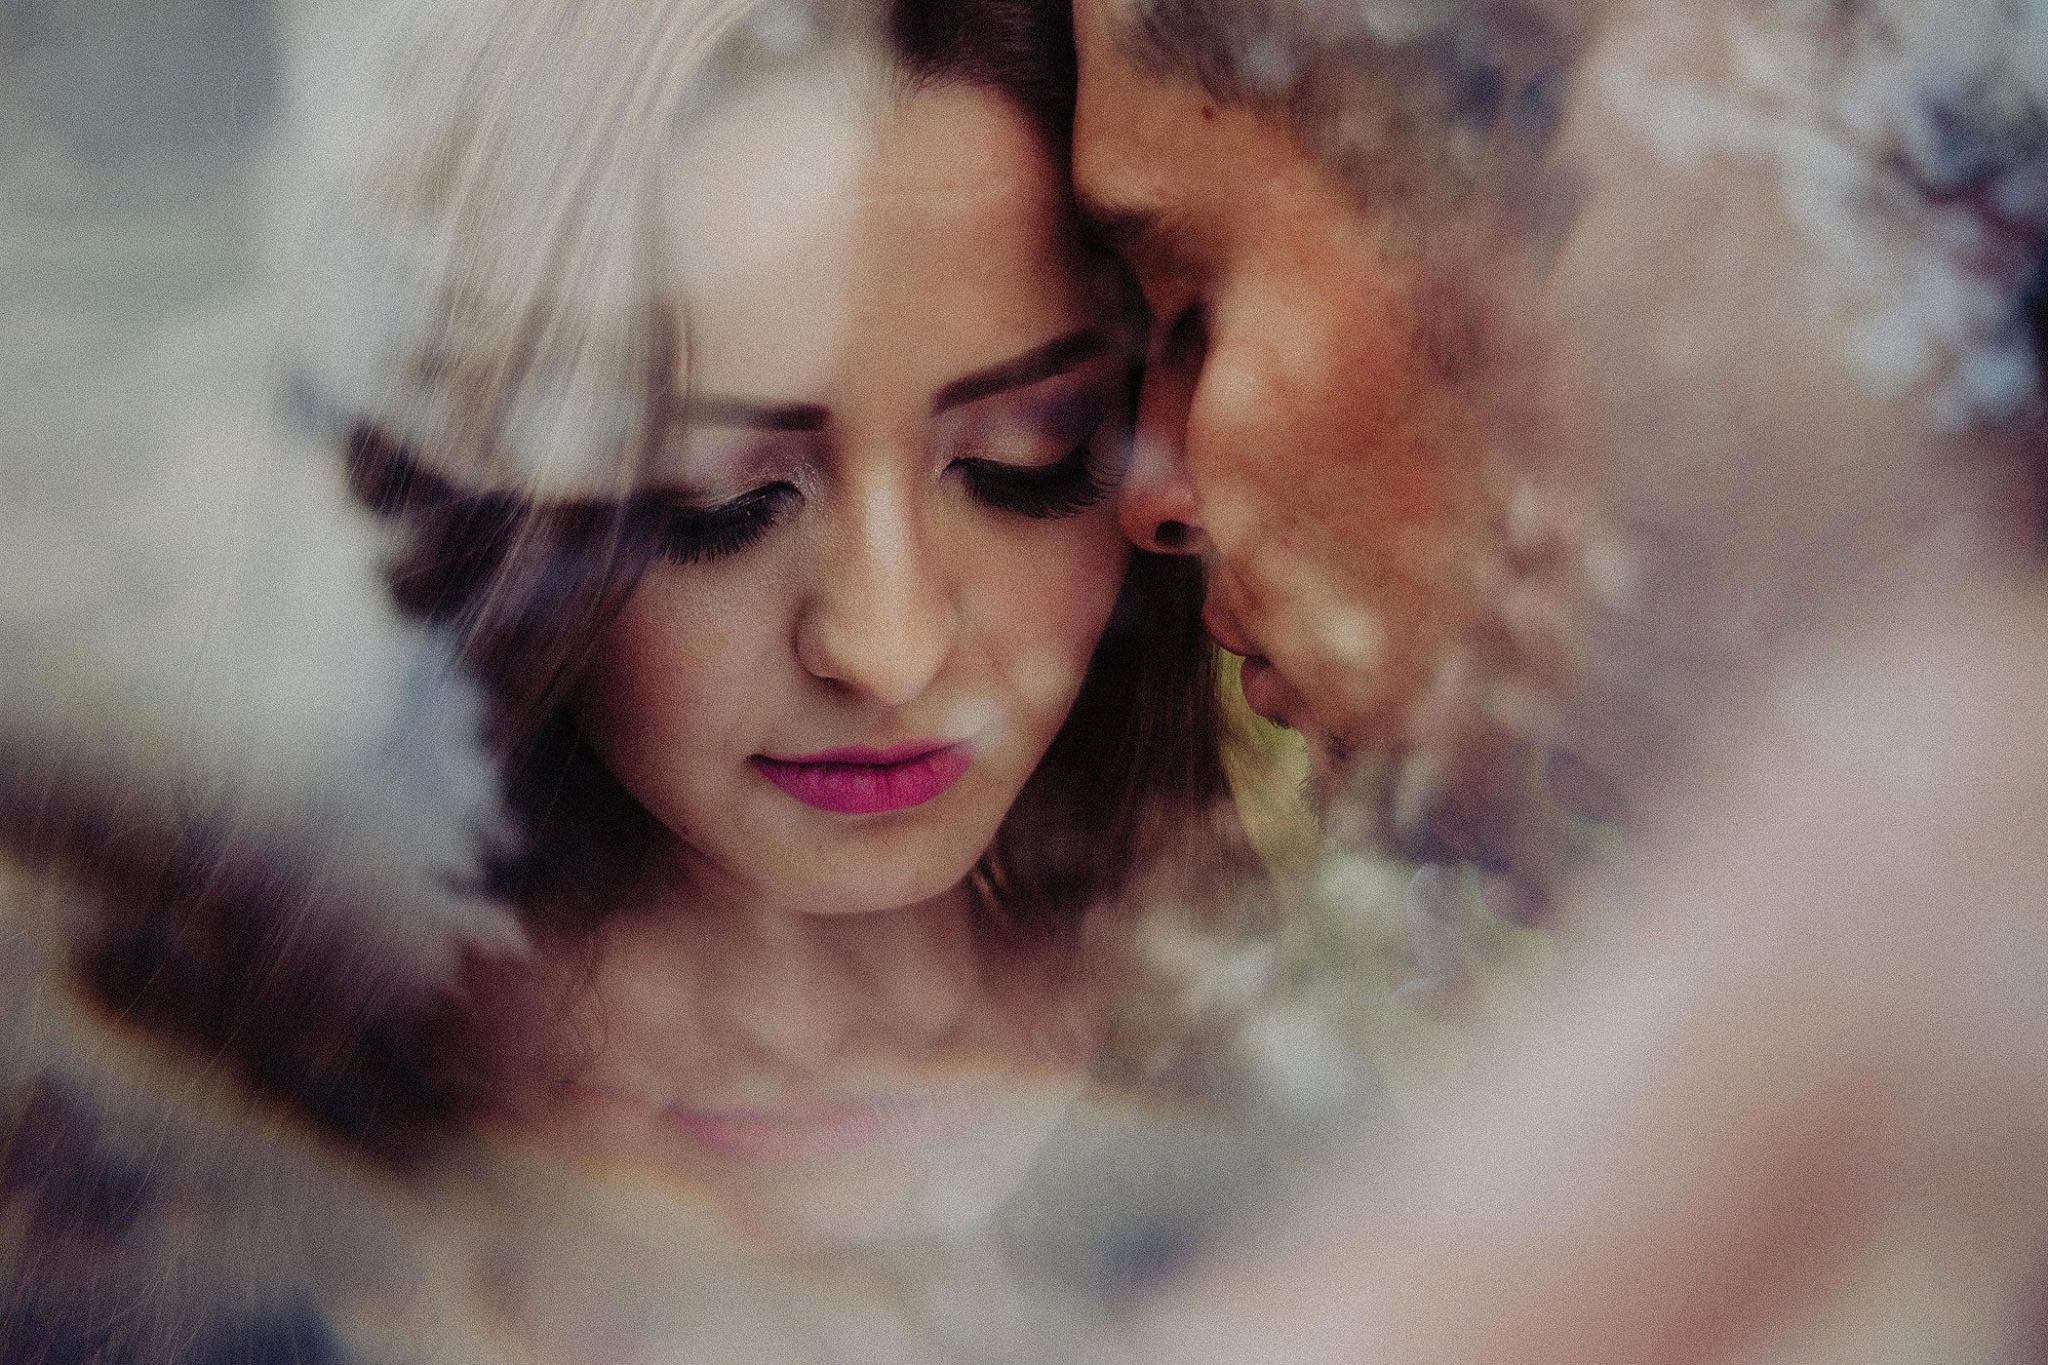
In the above example, when we decrease the depth of field by a factor of two, our circles of confusion become twice as large for rays that pass through the prism. The prism therefore becomes twice as defocused, and starts to blend in quite nicely with the surrounding scene:

by Alon Levin
Lens: Nikon 85mm ƒ/1.8
Focal length: 50mm
- Shutter1/100
- ISO2500
- Apertureƒ/1.4
Observe how the shallow aperture in this image lends to an overall dreamy effect; this is a direct result of the low aperture creating larger circles of confusion, a high amount of defocusing, and large fokeh (front bokeh).
To contrast this, below we demonstrate an image shot at a high aperture which has created too strong a contrast between the 'prismed' part of the image and the non prismed part. We quickly notice there's an object in front of the lens, which removes some artistic integrity. The abstractity and nuance is lost. Aaand it wasn't a good image to begin with, but we're just trying to illustrate a point. You can clearly make out which part of the image is encompassed by the prism:
by Nikk
Lens: Canon 50mm ƒ/1.4
Focal length: 50mm
- Shutter1/2000
- ISO200
- Apertureƒ/8
We must strictly control our aperture. I've worked with prism photographers for many years now, and many of them pay little attention to their aperture, or fail to shoot aperture priority entirely. In prism photography, this won't work! We must be mindful of our aperture, and we'll often need to dial it up or down a stop to get the results that we're looking for. But we absolutely must make sure that we shoot as wide as possible, and wide focal lengths often prefer apertures like ƒ/1.4 or shallower.
Worried that will break your bank? Check out our writeup on why the nifty-fifty is the best and most inexpensive way to prism. The nifty fifty will allow you to shoot at ƒ/1.4 for a mere few hundred bucks—it's a prismer's dream!
In summary, our apertures are our best friends, and we want to get very comfortable with them.
Manual shooting mode will be OK too, but might require extra work. In either case, the goal is absolute control and comfortability when setting your camera's aperture. Don't be afraid to experiment and shift your aperture up and down a stop, even in a live shoot.
Tip: Use small apertures at long focal lengths
We've demonstrated that you'll create larger circles of confusion and more defocusing (fokeh 🤭), when your aperture is shallower; in layman's terms:
The bottom line? The faster your lenses, the better you'll prism.
Does that mean you should always shoot at the fastest aperture you have? Is f-stop ƒ/1.4 always going to be king? Is more defocusing always going to be preferrable?
No! Prism photography is slightly more nuanced than that, and it is possible to create so much defocusing that it crowds out the subjects in our images. This becomes increasingly true as our focal lengths increase.
Prisming at long focal lengths (>80mm)
The circles of confusion —i.e. amount of defocusing increases as your focal length increases. Why? Because your focal plane is typically further away from your lens at longer focal lengths, but your prism is still just a few cm from the front element of your lens! The increased delta between the prism and the plane of focus (where your subject lie) causes your prism to become more defocused as your camera's sensor sees it, which can make your subject just too blurry:

by Nikk
Lens: Canon 105mm ƒ/1.8
Focal length: 105mm
- Shutter1/500
- ISO800
- Apertureƒ/1.8
It's therefore important to note that longer focal lenghts require narrower apertures when prisming. In these scenarios, increasing your aperture will allow you to create smaller circles of confusion and create more attractive front bokeh.
So what aperture should you shoot? There is no strict answer to this question; but generally speaking, to emulate the prism effect that you get at f-stop ƒ/1.4 at 50mm, you may want to try an f-stop of around ƒ/4 if you're shooting at 85mm or f-stop ƒ/5.6 if you're shooting at 135mm. Your mileage may vary, and you want to be sure that you're moving your aperture up and down a lot to achieve an effect that's desirable for your scene, as these things tend to be highly context depending. The correct setting is in there—you just have to find it!
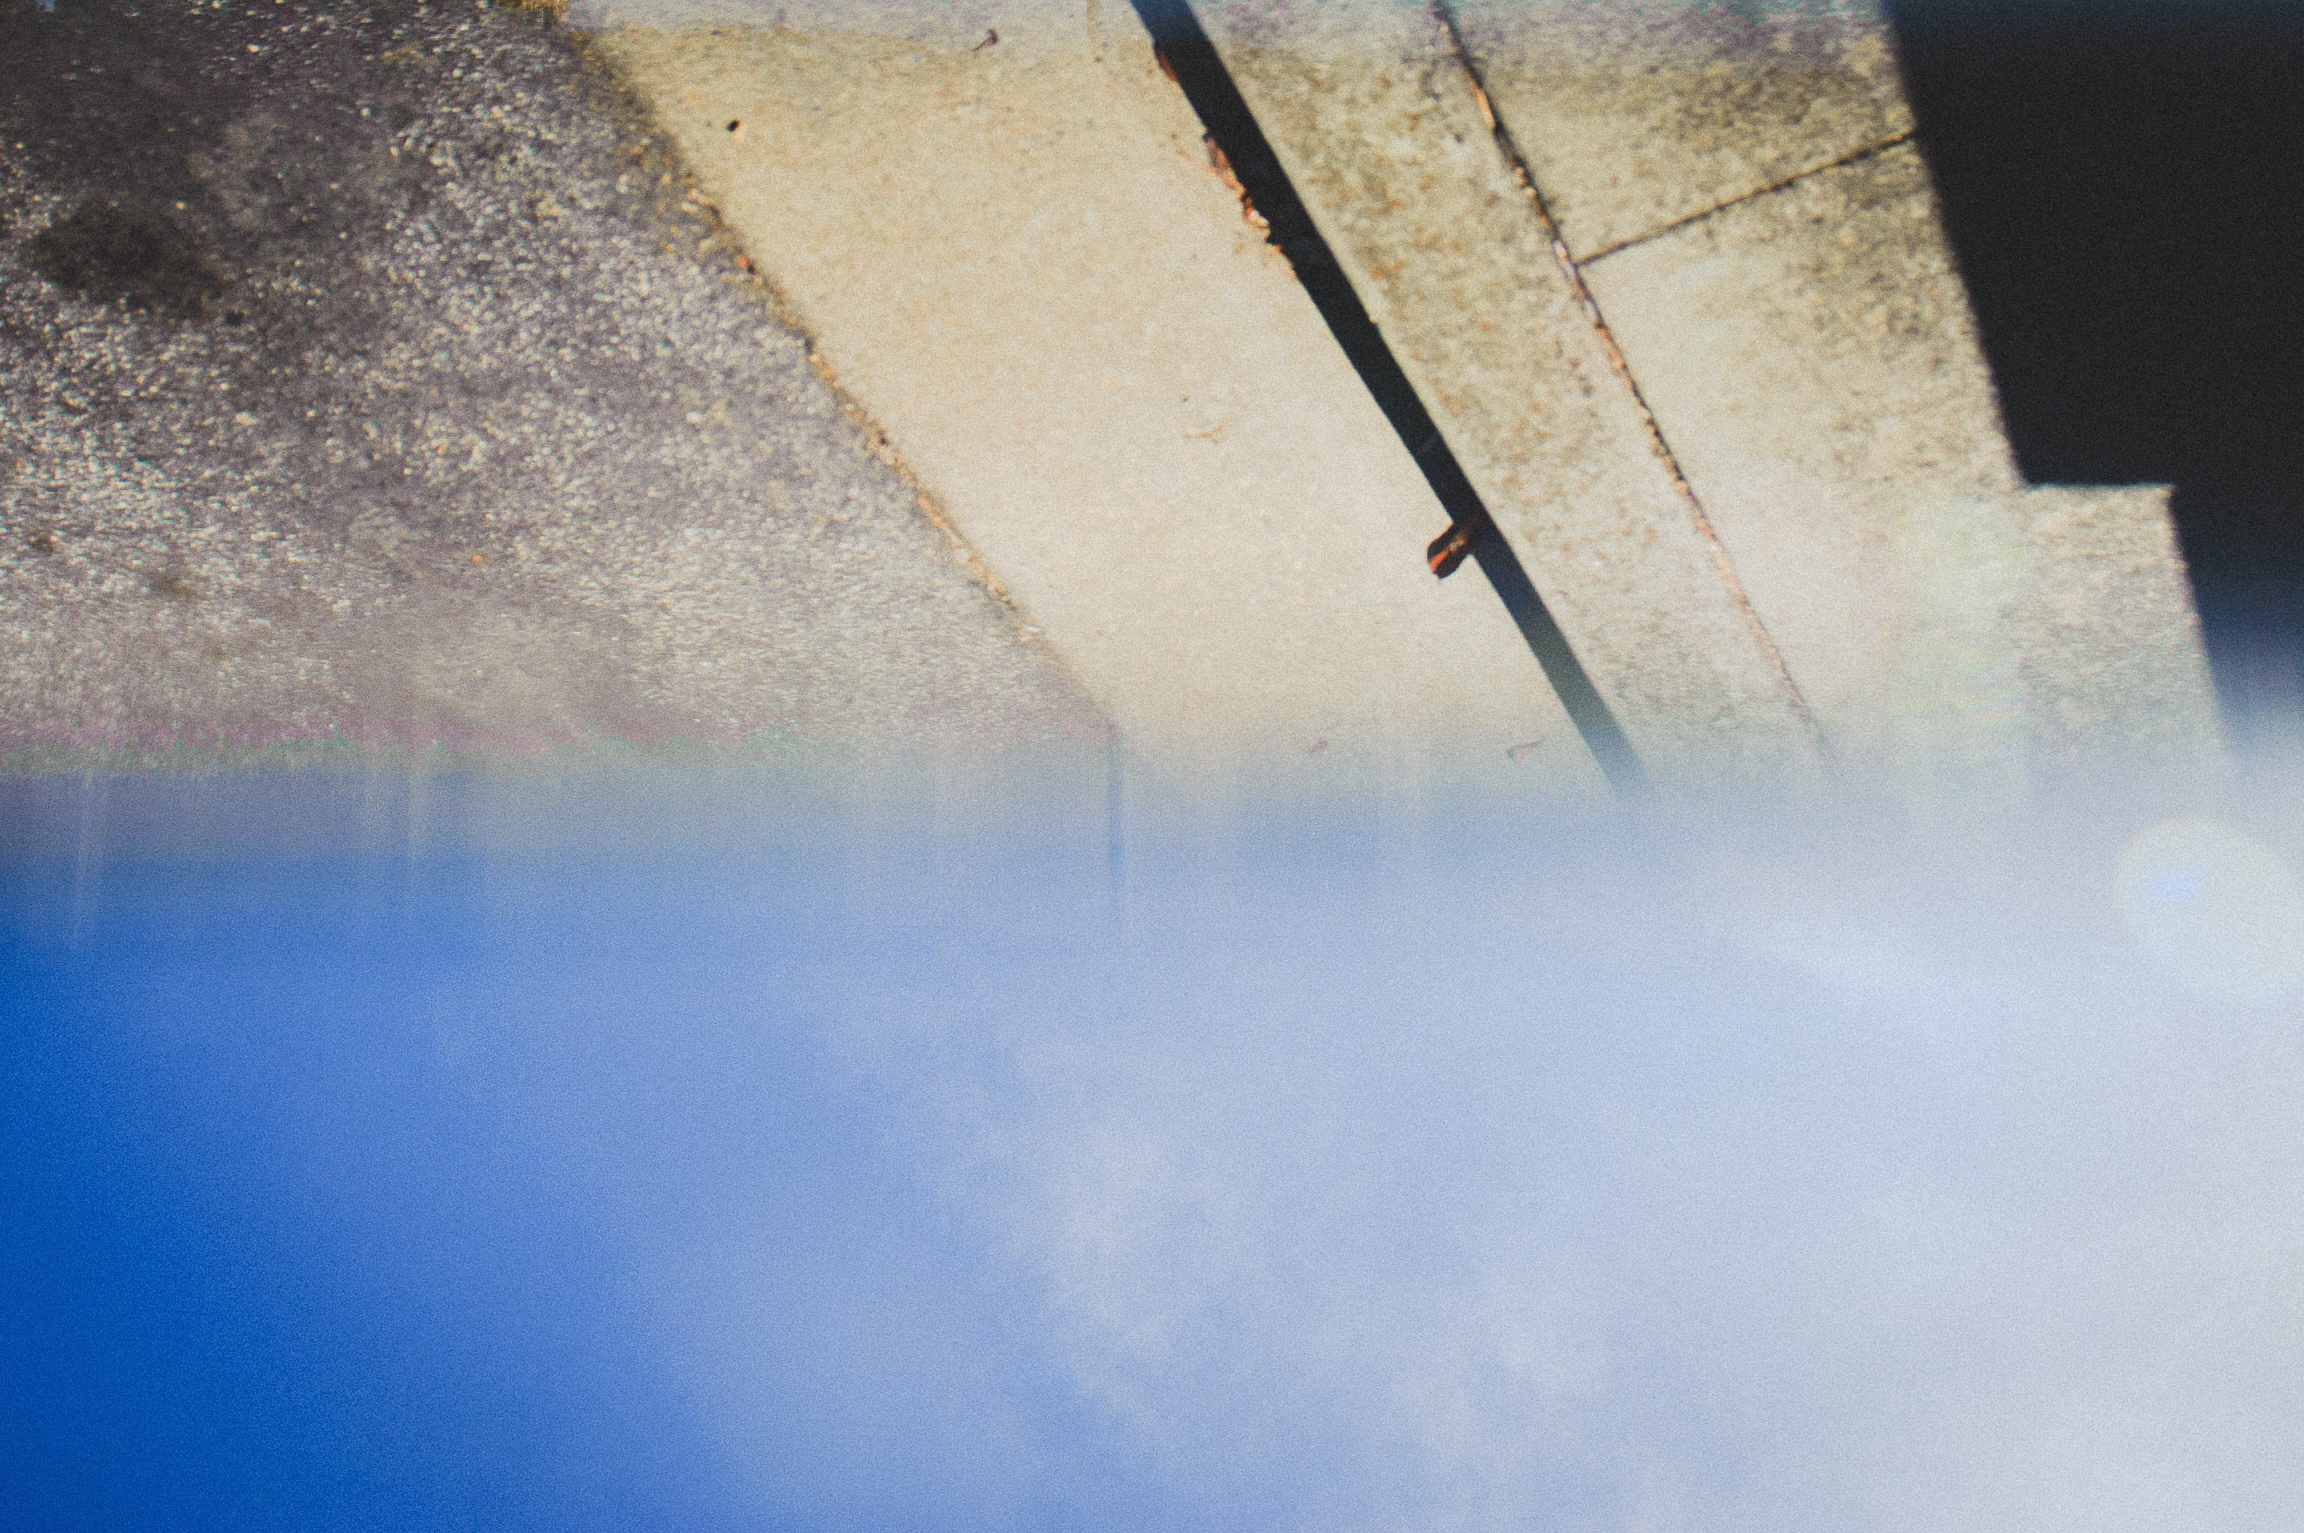
Here we present a shot by Kyun Se Yawn, which demonstrates proper use of a narrower aperture at an extended focal length. Notice that the defocus from the prism around the couple in the image is relatively in focus; allowing the perfect amount of haze to be produced by the prism.
This was achieved through the use of a narrower aperture, which, again, reduced the amount of defocus that the prism's reflection could create. Had he shot with the lens wide open, the haze would produced by the prsim would be overwhelming. Kyun's choice was artistically appropriate given the context:
by Kyun Se Yawn
Lens: Nikon 85mm ƒ/1.8
Focal length: 85mm
- Shutter1/100
- ISO2500
- Apertureƒ/5
Caveats
I'm not using a full-frame body, what focal length counts?
A question arose from reader John Harvey Perez—for non-full frame (crop) sensors, what focal length and aperture combination is best? Many of us use cameras that are not full frame, and therefore use specialty lenses which are designed for non-full frame cameras, or use full-frame lenses and fail to appreciate the full viewing angle of the elements in the lens.
The answer is that effective focal length should be the factor which you pay attention to. That is to say, if you have a 25mm lens, and a crop factor of two, the effective focal length of your lens is:
50mm = 25mm * 2
So, the rules that we discussed earlier will apply to your effetive focal length. At an effective focal length of 50mm, try starting out at around ƒ/1.4. For an effective focal length of 85mm, try starting around ƒ/4. Again, your mileage may vary, and you'll want to play with your aperture a lot as you shoot to produce a result that's desirable for your scene/subject combo.
The takeaway
There's an interesting phrase in photojournalism:
Being on the scene is more important than worrying about technical details. This may be true in many a case, but when we're dealing with art as delicate and as intricate as prisming, we have to be a bit more mindful.
The Ultimate Guide to Prism Photography
This blog post is an overview for our four part series explaining how photographers can use prisms like Fractals to capture creative images.
We highly suggest reading each of the following posts in order to learn how to better fractalize your images. Don't expect to shoot at your best without first understanding this information! Some of the facts you'll learn might surprise you (they sure surprised us 😲).
-

Aperture: you're not optimizing your aperture for creating great prismed images. Here's what to do.
-
Autofocus points: why changing your focusing settings will improve your photography.
-
Lens choice: the fixed-range 50mm lens (aka the "nifty fifty") might be the only lens you need for prisming. Here's why.

Published by Nikk Wong
Nikk Wong is a photographer, probably very much like yourself. He began his career shooting weddings and portraits, but quickly became obsessed with prism photography. Now, he spends his time building lenses and products in an effort to bring the magic of prisming to a mainstream audience. (Can I stop talking about myself in third person now?) 🙃