Focus Points: How to improve your photography by changing your focusing settings
The Ultimate Guide to Prism Photography
This blog post is the first in a three part series explaining how photographers can use prisms Fractals to capture creative images.
The Ultimate Guide to Prism Photography has all you'll need to get started.
If you want to skip right ahead to the point: the best way to set your focus points.
The secret to composing better photos
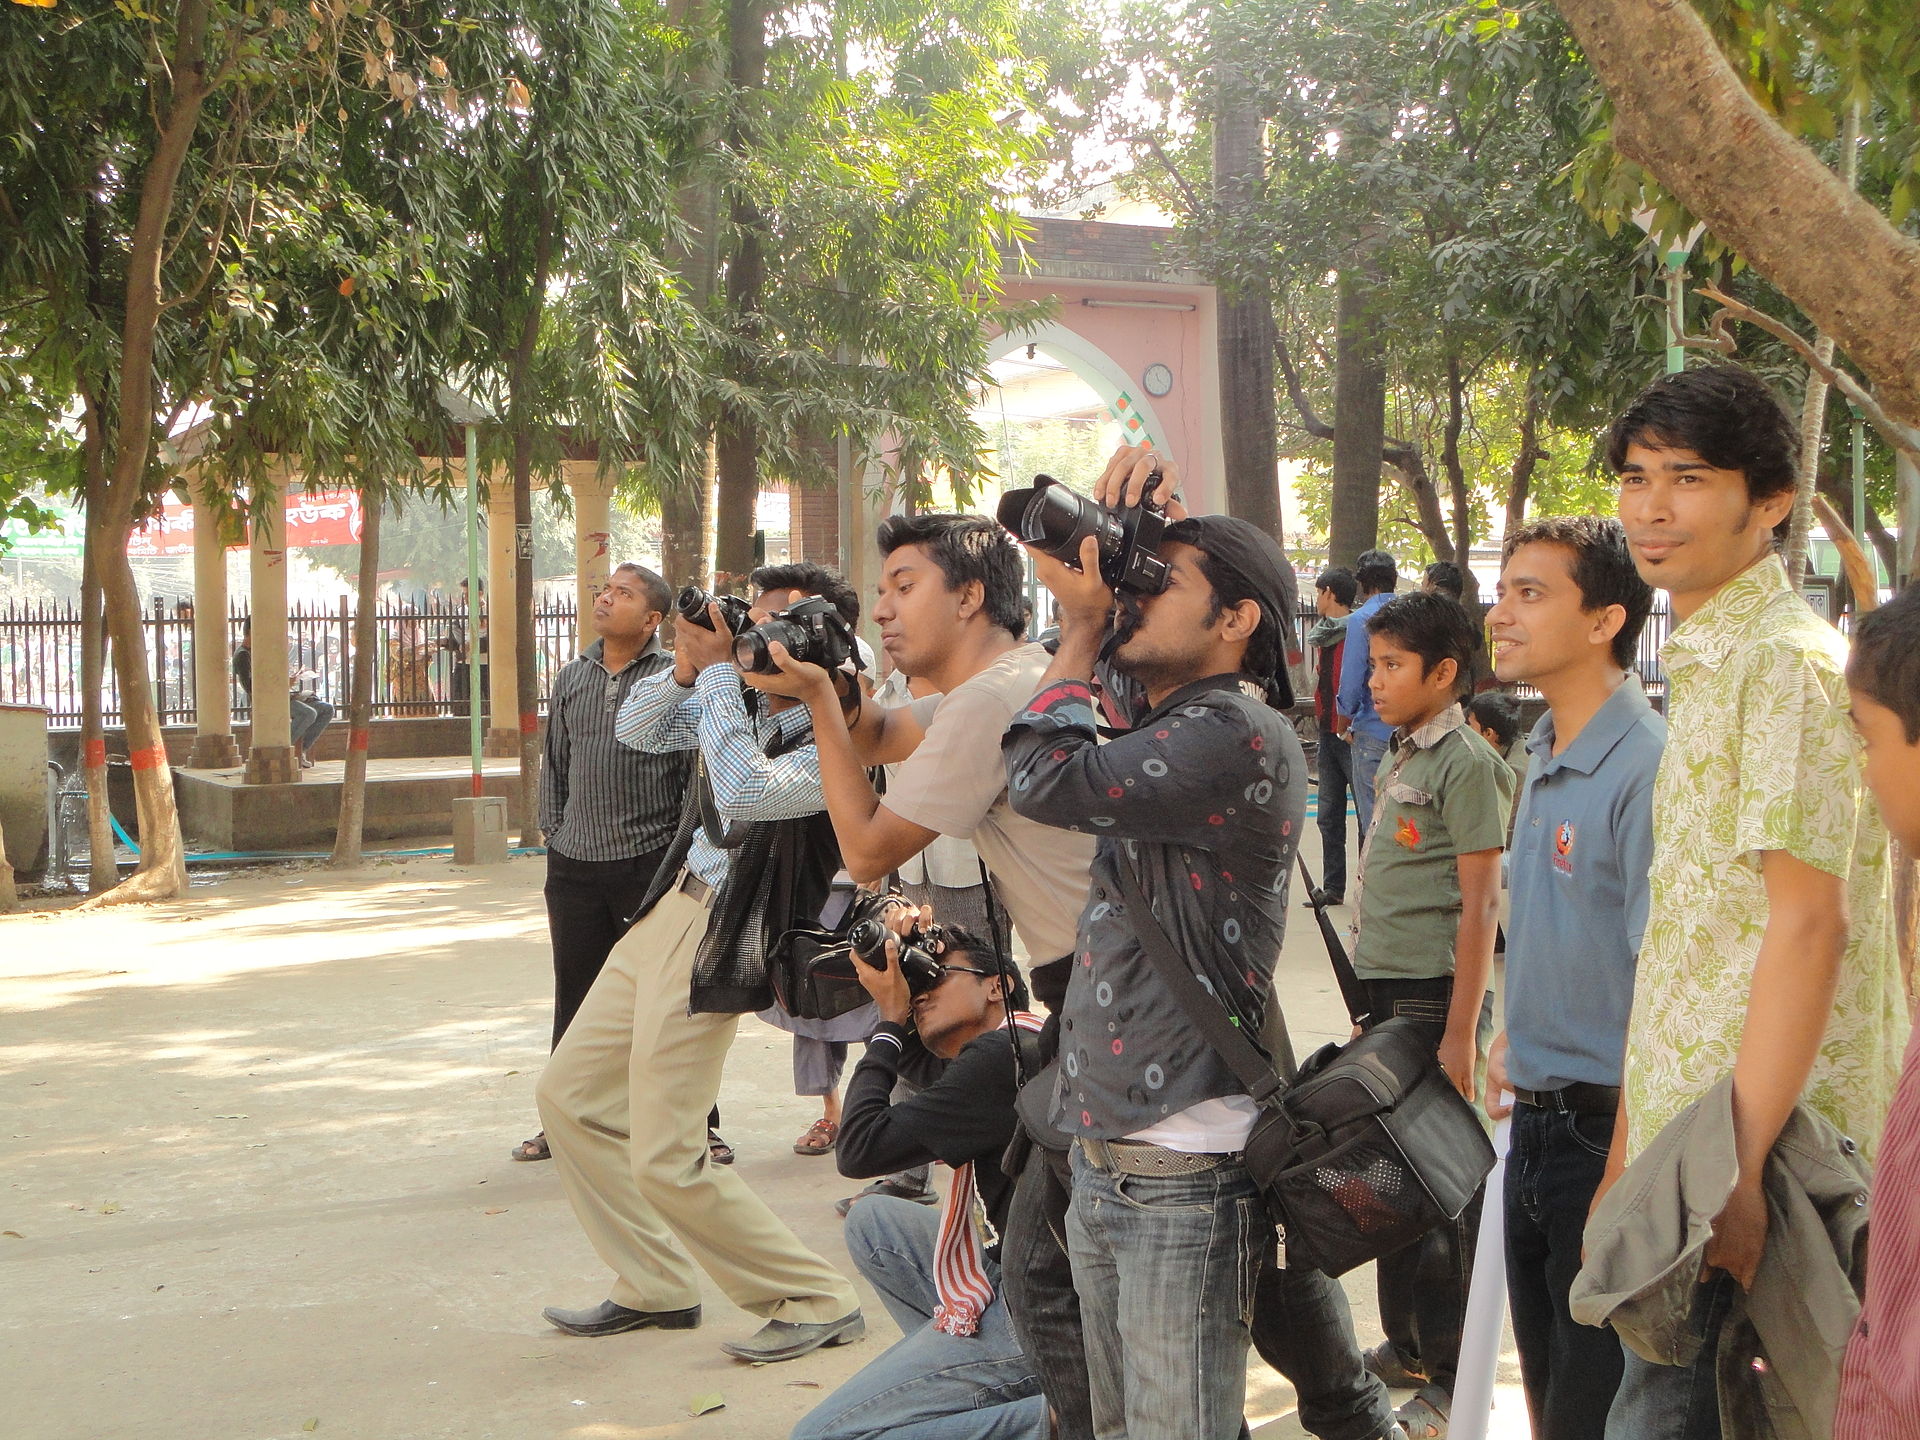
I work with a lot of photographers (if you're in Seattle, holla at me)! One of the easiest ways to connect with other photographers in your area is by going to local meetups, and, very interestingly, photo walks.
Photo walking in Bangladesh
Yes, photo walks are an international phenomenon. Who would have thought?

It may seem a bit silly at first, but photo walks are a great way to chat with photographers and stay up to date with a rapidly evolving field. More interestingly, is how photographers can all shoot the same subject, and yet create wildly different images.
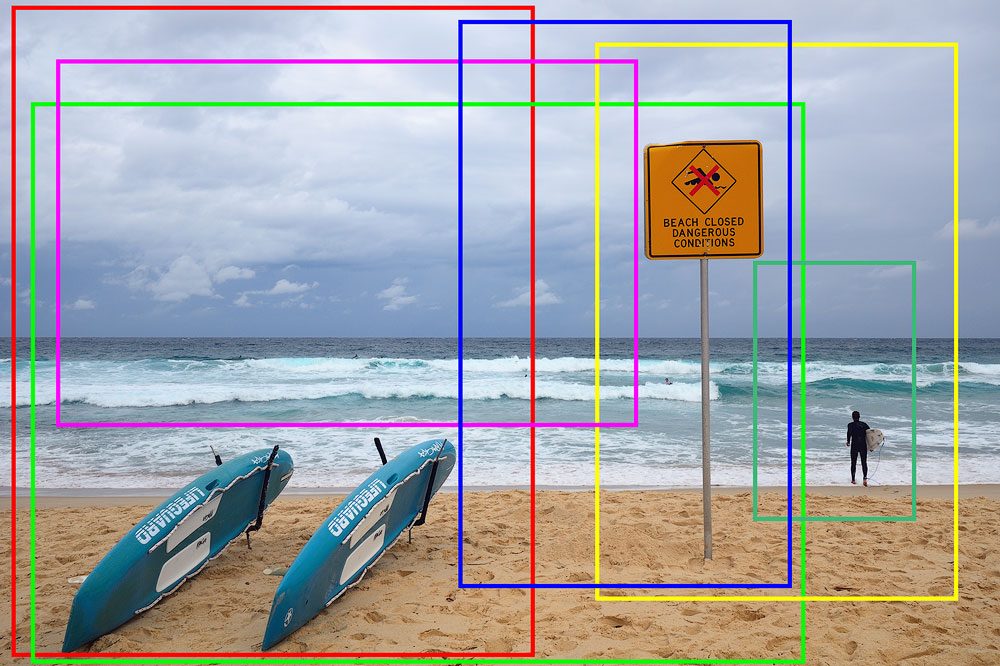
Same scene, different compositions
In the following scene, which composition is the best one? That may be a matter of debate, but surely some are better than others
Your efficacy as a photographer hinges on your ability to determine which one is best, and you ability to then capture it.

We often get so caught in the moment that we forget that how we compose our photos can completely change the tone and feeling that our photo communicates. An unthoughtfully composed photo is akin to a pianist drunkenly smashing random piano keys—beautiful art is only produced when the artist is thoughtful and diligent in each phase of creation. This may be obvious to most of us, but, often we struggle to create the beautiful compositions we see plastered everywhere online. What gives?
Well, after working with countless photographers, I know exactly what gives. The problem is twofold, and they are both inherent in how we focus our images.
Prismers must use the following focusing settings
We need to use single-point AF
We need to use back-button (non shutter-release) focus
Our failure to follow these basic steps are really, really, mucking up our compositions! Nine out of ten photographers I chat with don't have their camera calibrated in this manner—and it is making their photographic careers much more difficult.
Why does focusing mode matter?
The focusing settings we choose directly influence our ability to compose our shots. Specifically, default camera settings, like auto-area AF-Area mode and shutter-release focus inhibit our ability to compose efficiently. Why? Well, both modes force us to compose our photos in specific ways, which typically aren't the best compositions for any given scene. Let's explore how these modes set us up for failure.
The problem with shutter-release focus
Shutter-release focus mode attempts to verify that a subject is in focus before releasing the shutter and capturing a shot. This is useful for amateurs who have never used a complex focusing system before, but, it unfortunately makes it very difficult to compose effective images. Shutter-release focus requires you to actuate the shutter halfway to focus, and full-press it to fire a photo. If you're new to all of this, you're probably using shutter-release focus by default.
This is a great way to get accustomed to DSLR photography, but you will constantly find yourself having refocus your camera. Shutter-release focus forces you to focus every time you take an image! If you've found this to be annoying—you're responding as you should be. Shutter-release focus is a system of training wheels—it's only going to get in the way between you and your next shot.
Shutter-release focus also makes it hard to compose your photos correctly. You have to find your subject, half click to focus, compose, and then full click to shoot—for every single shot! Sounds like a lot of steps? It is, very few of the highest caliber professionals I know shoot this way.
For example, if you're trying to shoot using the rule of thirds,with your subject on the right half of your image, the camera has no way of really knowing what your subject is, and may try to focus on some other object (based on the AF-Area focus mode, mentioned soon) in the frame before releasing the shutter.
Most photographers may get tripped up by this once or twice, and course correct by just placing their subject smack-dab in the middle of the frame, a place where the shutter-release focus mode is very likely to recognize the subject and focus correctly.
This is not the correct solution! It has destroyed our ability to use interesting techinques, like the rule of thirds! We should recognize that this is symptomatic of a problem—in this case, we're using the wrong focusing mode—shutter release focus must go!
The problem with the 'auto' AF-Area focus mode
The problems with the auto AF-Area focus mode are related to the problems with shutter-release focus, but also worth mentioning in their own regard. AF-Area focus mode allows you to set the area in your frame in which you want your camera to attempt to focus on.
This can potentially give us a lot of control on how we focus and then compose our images. Unfortunately the default setting—Auto AF-Area focus mode—does exactly the opposite: it focuses indiscriminately, using it's best guess on what the subject in your frame is, and it's often wrong.
Photographers quickly notice this and course correect by, again, placing their subject in the middle of their frame, where Auto AF-Area focus is unlikely to be confused.
Why do these problems exist?
If shutter-release focus mode and Auto AF-Area focus mode are suboptimal focusing experiences, then why are they shipped with the camera as the default settings?
We can answer that by quickly investigating their business model. New DSLR purchasers often have never used a camera system which requires users to be conscientious about how exactly to get their subject in focus. Learning all of the bells and whistles in a modern camera can be daunting. The new Nikon D750 has 40 settings menus each of which has several submenus, subsettings, etc.
Cameras are complicated beasts! And camera manufacturers wont do well financially if newcomers are overcome by the complexity and return their shiny new DSLR before learning to use it. An interesting corollary here is that about 1 in 4 adults are too illiterate to understand how to use a computer. Manufacturers know this, and want to make their systems as easy to use as possible.
So, most cameras come set to auto exposure, (which you're not using, right?), with focusing settings geared towards photographers of the lowest common denominator.
The solution: single point AF & back-button focus
Single-Point AF
Single-point AF is the single most important setting that we can use to instantly start shooting better photos. How does single point AF work? Well, imagine you're composing the following photo:
In single-point AF mode, you have the ability to move the autofocus point over to where your subject currently resides in the frame, and, upon autofocusing, the camera will attempt to focus on the subject at that point.
This is a gamechanger in comparison to the automatic system, because now you are explicitly telling your camera where you want it to focus—thereby ensuring that it doesn't screw up and start focusing on a dog running behind your subject, a cloud, etc.
All else held constant, single-point AF mode improves your compositions.
Back-button Focus
Back-button focus, as opposed to shutter-release focus, allows you to click a button on the rear of your DSLR to activate the camera's focusing system. The shutter now is no longer used for focusing, and there is no more concept of a 'half-click'—you use your shutter only for capturing photos.
This decoupling of the focusing system from the capturing system is an absolute godsend—it allows you to focus and compose in the photo simultaneously in one step, and then capture your photo freely afterwards. The messy behavior in which you're focusing while you're shooting your photo no longer exists in back-button focus modes.
Power play: back button + single AF point focus
The preferred focusing methodolgy that several other pros and myself have become accustomed to over the years is back-button focusing using a single AF point. This may take a bit of getting used to, but it will far simplify your focusing and composing workflow. Here's how it works:
-
1. Compose
You're now free to compose your photo exactly how you want to, paying full atttention to the objects and subjects in your frame.
2. Focus (Using a single AF point and your back-button)
Now, you can focus on focusing (pun completely intended). Since your frame is properly composed, you can simply move your single AF point to the point at which you desire your frame to be in focus, and hit the back focus button to focus your shot.
-
3. Shoot, shoot, shoot!
You now have complete control over when to fire your shutter, and you don't have to think about focusing or composing in the shooting phase, you already did that in steps #1 & #2, remember?
AF Points in prism photography
A simple truth of the matter is that focusing systems were not designed with prismers like ourselves in mind, and using the Pascal or Penrose filters without properly setting our focusing systems just isn't going to work. This is especially true for 'auto' AF-Area focus mode—which will just attempt to focus over and over on the filter, instead of the subject that's in front of the filter.
That's OK, because, we should be using back-button focus and single-point AF anyways.
Caveats
There are circumstances in which shutter-release focus is a better focusing option, even for experienced shooters. An example of this is sports photography—in which the time it takes to compose, focus, and then shoot process is likely going to take too long and cause you to miss important moments.
These situations are few and far between though—and for the vast majority of situations, we want hyper control over how we focus and compose our scenes.
Single-point AF on your camera
Oh, it also may be very difficult to find the single-point AF setting on your camera. I've noticed this setting seems to become more and more buried on newer camera models. Why? Who knows; the engineers who build cameras are not often very well versed in user experience. Like anything else, Google it, the information is out there :).
The Ultimate Guide to Prism Photography
This blog post is an overview for our four part series explaining how photographers can use prisms like Fractals to capture creative images.
We highly suggest reading each of the following posts in order to learn how to better fractalize your images. Don't expect to shoot at your best without first understanding this information! Some of the facts you'll learn might surprise you (they sure surprised us 😲).
-

Aperture: you're not optimizing your aperture for creating great prismed images. Here's what to do.
-

Autofocus points: why changing your focusing settings will improve your photography.
-

Lens choice: the fixed-range 50mm lens (aka the "nifty fifty") might be the only lens you need for prisming. Here's why.

Published by Nikk Wong
Nikk Wong is a photographer, probably very much like yourself. He began his career shooting weddings and portraits, but quickly became obsessed with prism photography. Now, he spends his time building lenses and products in an effort to bring the magic of prisming to a mainstream audience. (Can I stop talking about myself in third person now?) 🙃

