Post Processing Tutorials: Mastering the Pascal Filter by Improving Your Post Processing
A lot of what it takes to create interesting images with Fractals comes down to being quite nit-picky when it comes to post-processing. Here I'm going to demonstrate exactly my thought process and techniques to turn an otherwise average looking image into one that pops a little bit more.
If you like this tutorial, please like, share, and subscribe. I would also love to do more tutorials, if you find this helpful; so please send me images that you'd like me to touch up or take a look at and I'd be happy to do another tutorial based on your image.
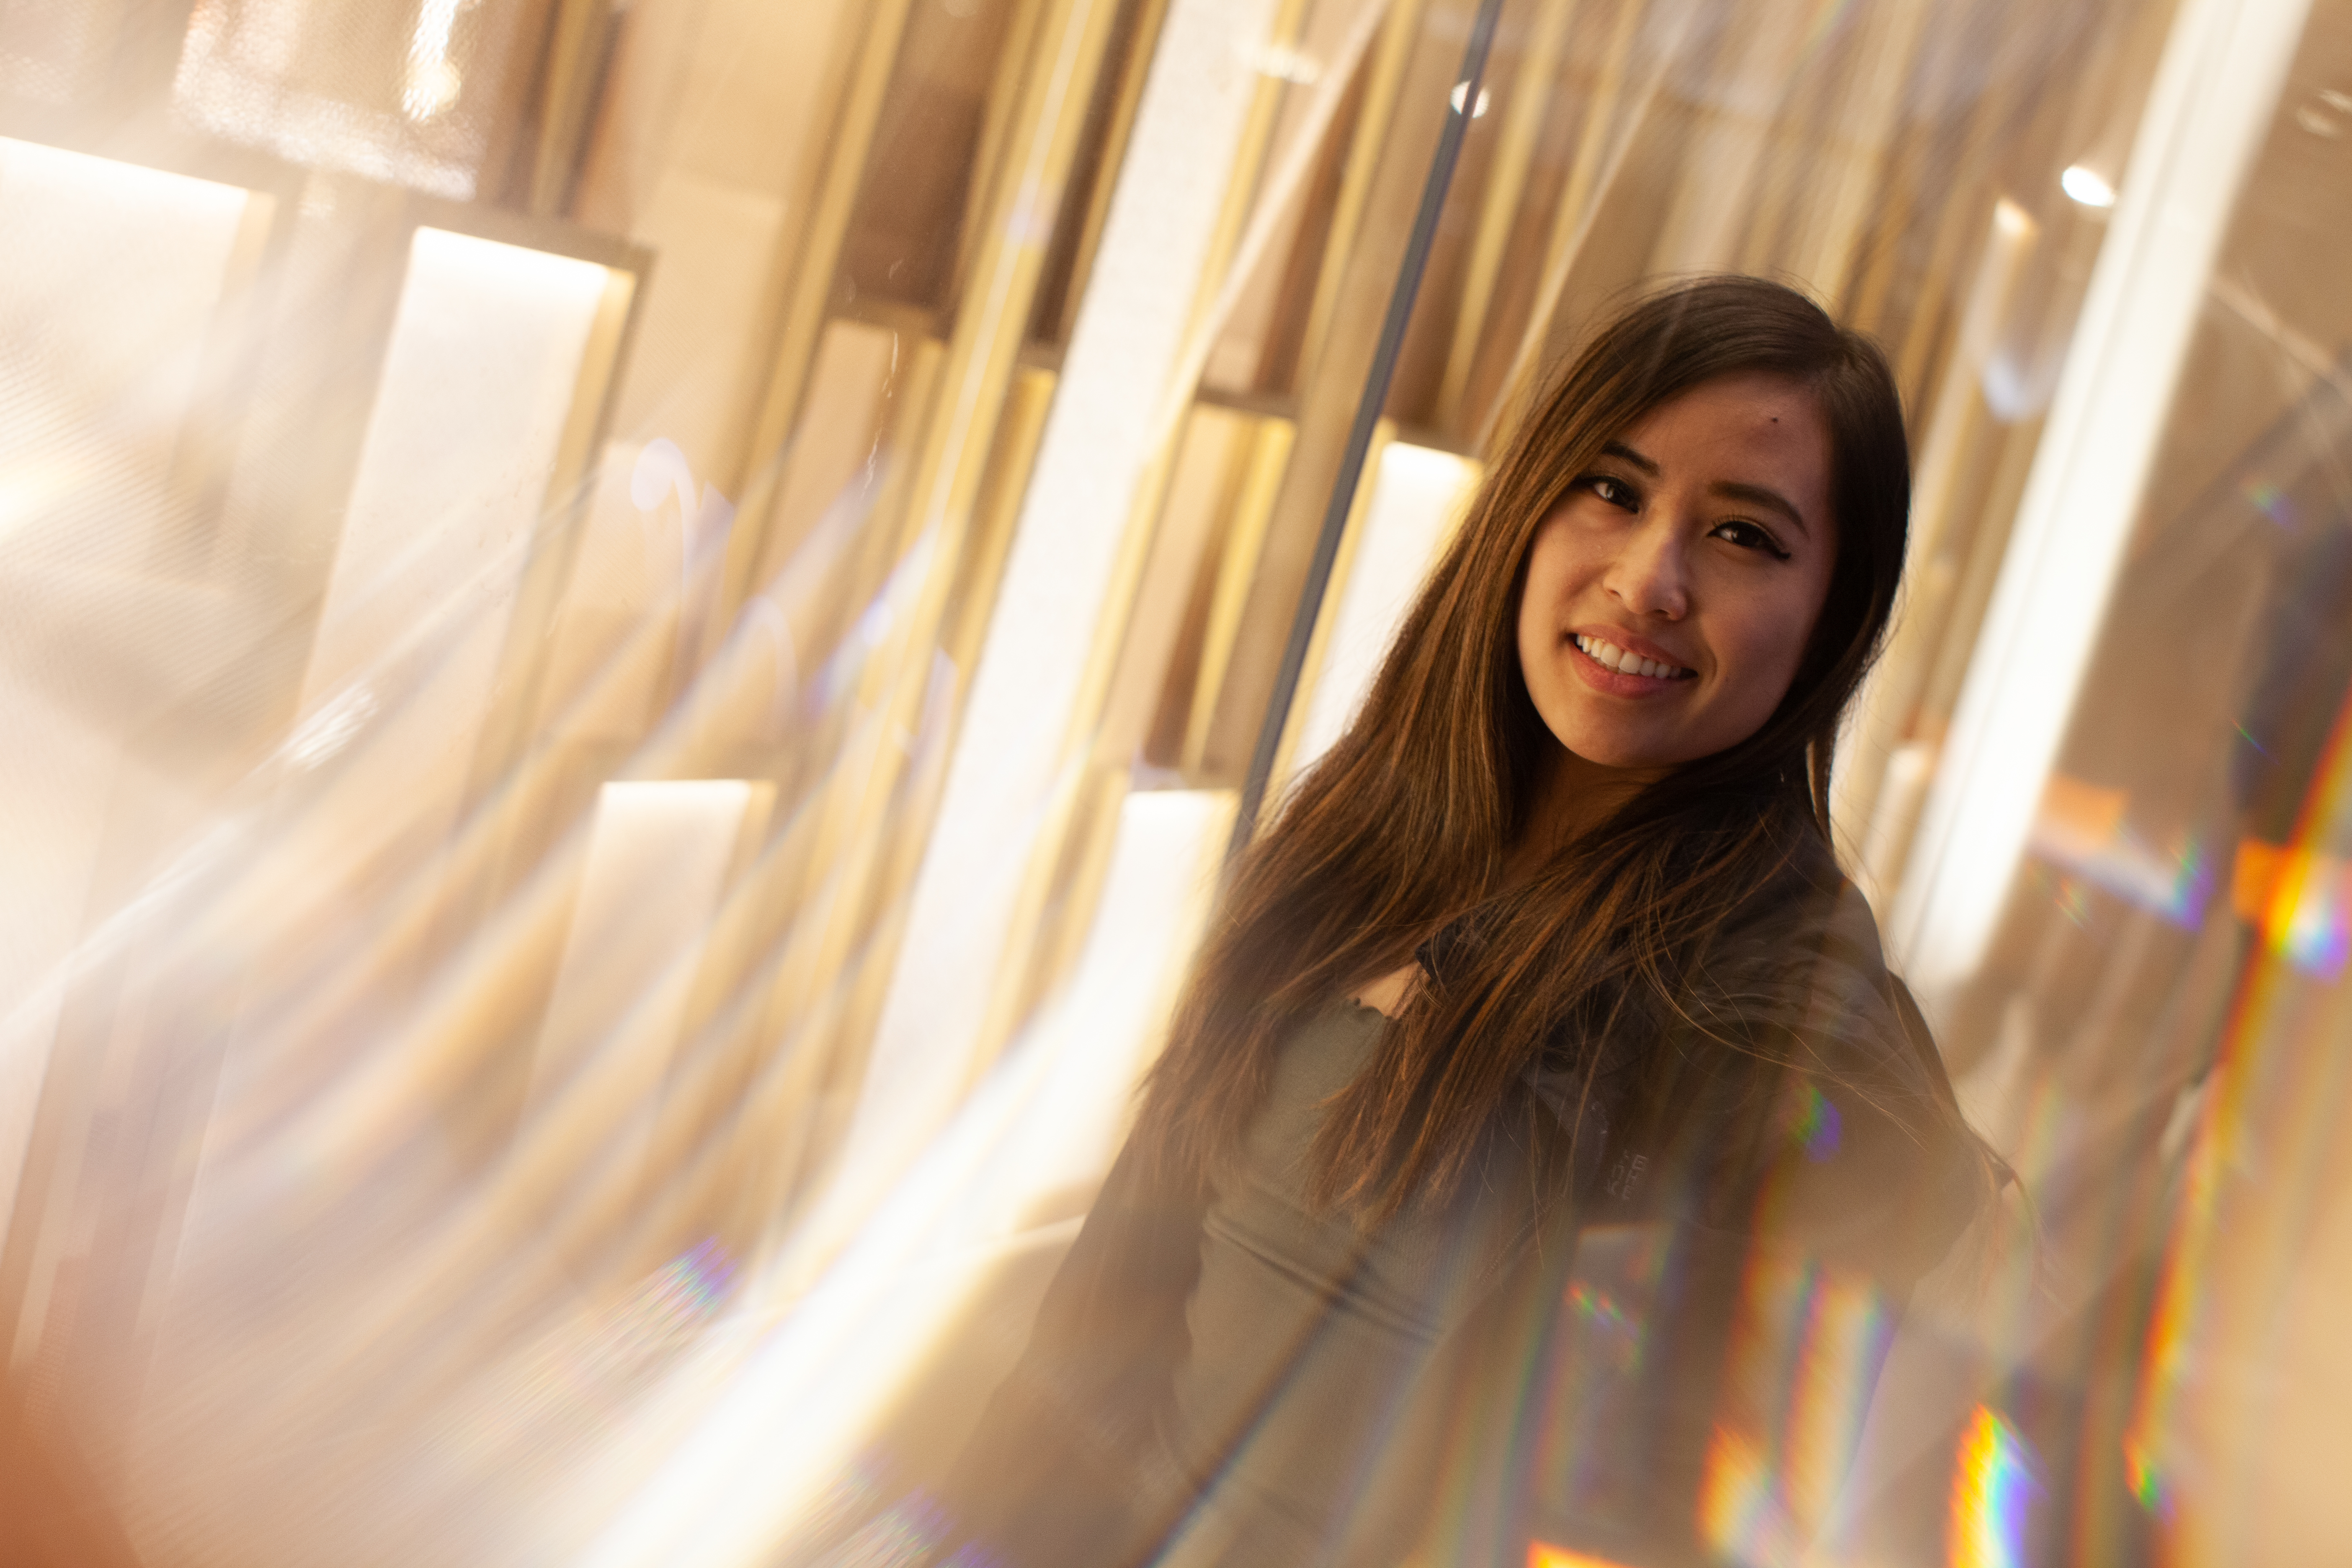
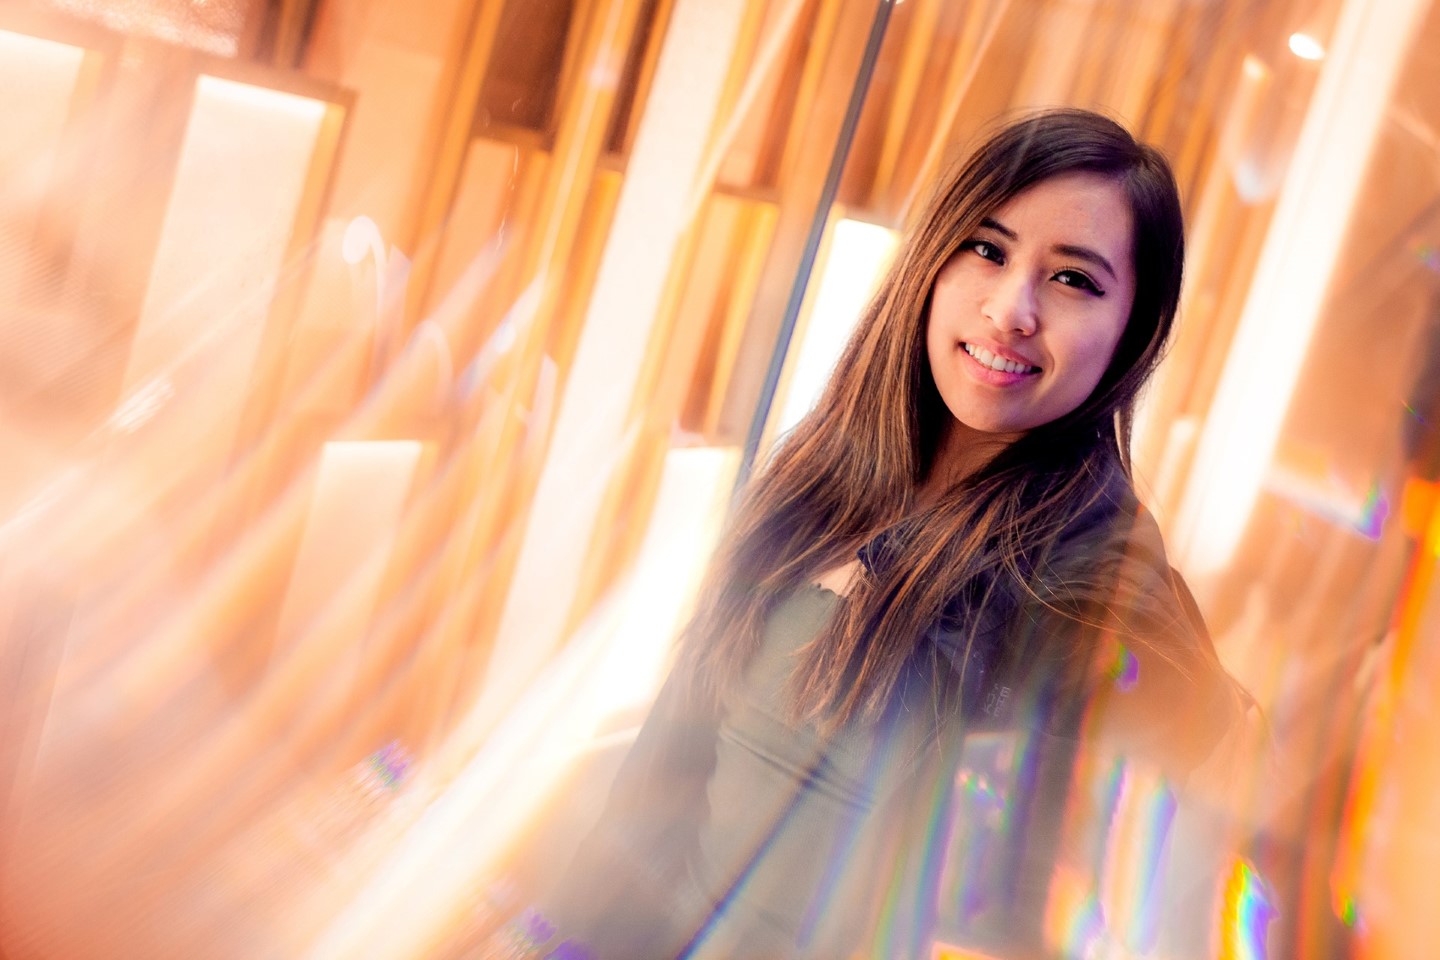
For reference, here are the before and after versions of the image taken:


To summarize, the important idea here is to focus on bringing the highlights on the left hand of the frame down (they're overpowering our subject currently), and bringing more focus to our subject, using various spot tools available to us in Lightroom. I'll go over this more in the video.
This is highly experimental for me and my first time trying something like this so please let me know what else you'd like to see. Thanks so much!
Without further adieu.
Thanks for watching! Let me know what you think and hope this was helpful!
Get featured for your work
If you have something to share, we'd like to feature you like we featured Steve. Send us your images! You'll get a search engine boost from our links to your site, as well as massive street cred in the prisming community.
All you have to do is send us your images. The rights to your photos remain completely owned by you.

Published by Nikk Wong
Nikk Wong is a photographer, probably very much like yourself. He began his career shooting weddings and portraits, but quickly became obsessed with prism photography. Now, he spends his time building lenses and products in an effort to bring the magic of prisming to a mainstream audience. (Can I stop talking about myself in third person now?) 🙃
